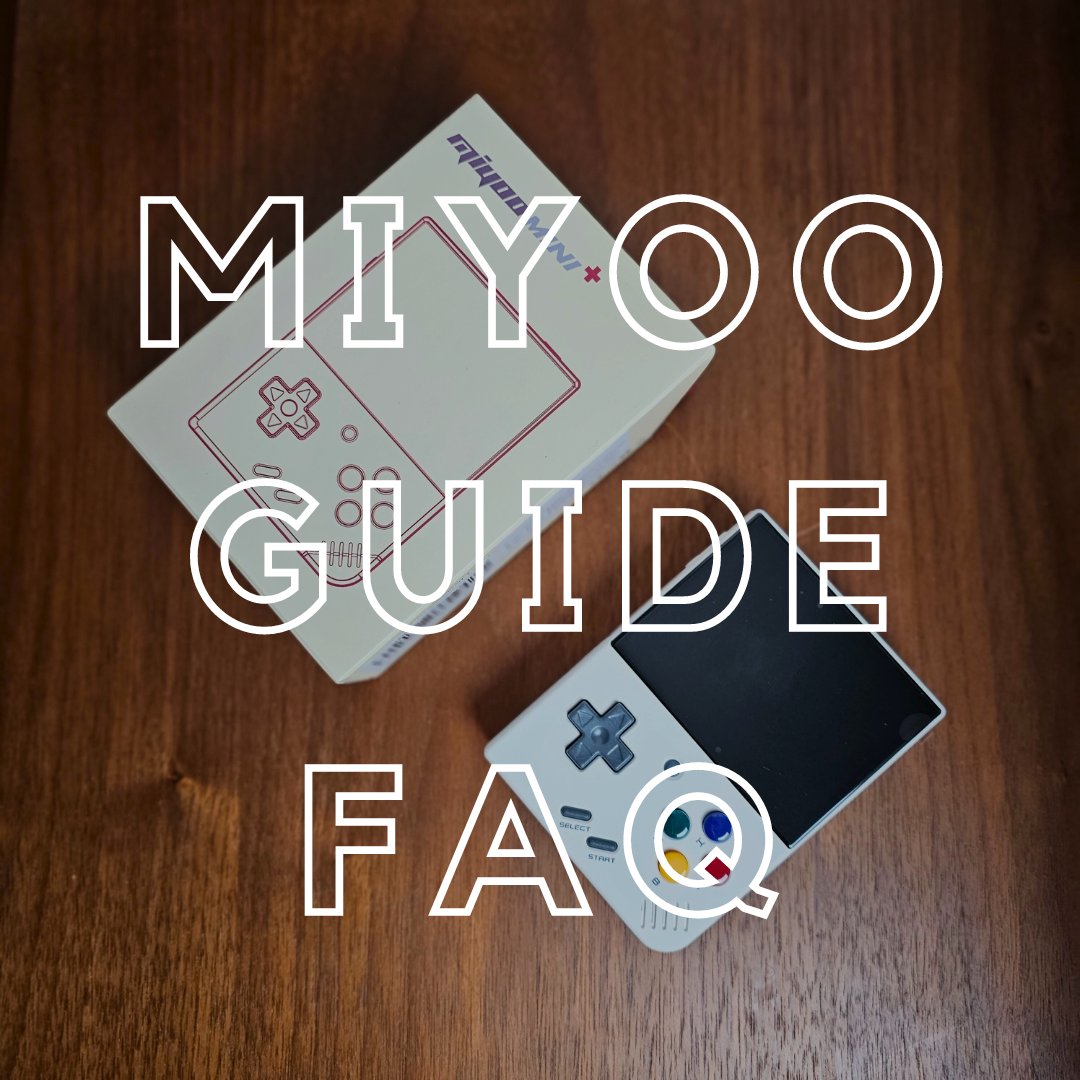
The Miyoo Mini Plus is an adorable little retro gaming console that belongs to the "neo Game Boy" family. A real treasure that fits in your pocket and allows you to rediscover the most popular game consoles and arcade systems of the 80s and 90s in a compact and easy-to-use device.
Obviously, to get the most out of the Miyoo Mini Plus, it's essential to know how to add games. Fortunately, the procedure is accessible to everyone. All you need is a computer connected to the Internet and a memory card reader.
Don't have a memory card reader? No worries: the Miyoo Mini Plus from DOCK & PLAY comes with a USB 2.0 memory card reader. Simply plug it in via USB and you're ready to relive your childhood with the Miyoo Mini Plus. You can also purchase a faster USB 3.0 memory card reader separately, which allows you to transfer your games very conveniently.
Hardware for adding games to Miyoo Mini Plus
Before adding games, here are the 5 essential elements:
-
Miyoo Mini Plus Console : Just make sure it's sufficiently charged.
-
Micro SD memory card : This is necessary to store games on the console and for the console to boot. Make sure it has enough space to accommodate the games you want to add. A 64GB card is sufficient to get started.
-
USB Memory Card Reader : This is essential for reading and installing files on the memory card from a computer. Once filled, the memory card must be inserted into the console to read the added games.
-
Computer : A PC or Mac computer is required to transfer games to the memory card.
-
Games : Get digital game files ("ROMs") of your choice from a reliable internet source.
Steps to Add Games to Miyoo Mini Plus
Now that everything is ready, here are the steps to install the games of your choice on the Miyoo Mini Plus emulator console.
-
Prepare the microSD card :
- Insert the microSD card into the USB memory card reader and plug it into a USB port on your computer.
- CAUTION: The reader must be compatible with the TF (Transflash) format. A reader that only supports Micro SD may not read the memory card correctly.
- If you are using the original memory card, the folders corresponding to the emulators already exist, all that remains is to add the ROMs.
- Insert the microSD card into the USB memory card reader and plug it into a USB port on your computer.
-
Downloading games :
- Use reliable sites to download ROM files. Some publishers of "neo-retro" games offer them directly on their websites, in free or paid versions.
- You can visit itch.io , a community of independent games, some of which are offered in ROM format for emulators, in free or paid versions.
- Use reliable sites to download ROM files. Some publishers of "neo-retro" games offer them directly on their websites, in free or paid versions.
-
Transferring games :
- Once you have downloaded ROM files to your computer, unzip them if necessary (usually you can leave them as a compressed .zip file as most emulators can read .zip files)
- Copy these files to the folder corresponding to the emulator on the microSD card. For example, ROMs with the .gb extension should be added to the /GB (Game Boy) folder.
- Once you have downloaded ROM files to your computer, unzip them if necessary (usually you can leave them as a compressed .zip file as most emulators can read .zip files)
-
Safely eject the card reader :
- Use the Windows "safely eject drive" function and then remove the micro SD card from the card reader.
- Use the Windows "safely eject drive" function and then remove the micro SD card from the card reader.
-
Insert the micro SD card into the console :
- Turn off your Miyoo Mini Plus.
- Insert the micro SD card containing the games into the dedicated slot.
-
First start with emulators :
- Turn on the console and enter the main menu.
- Select the emulator related to the game you want to launch.
- Browse the list of games associated with the emulator to find the game you want to launch and select it.
-
Play!
- Enjoy your newly installed games on Miyoo Mini Plus.
- Enjoy your newly installed games on Miyoo Mini Plus.
The use of ROM files must be done in compliance with current legislation and the work of the authors. You can support independent game creators on the itch.io website.
You're ready to have fun like back in the day!